
Pest Control During Home Renovation Preparation
Learn why pest control during home renovation preparation is critical to avoid hidden damage, health risks, and costly project delays.

By Elena John
Learn more about Pest Control Services for guides, costs, and what to expect.
Compare Pest Control Services Pros Near You

Enter your ZIP code to compare top-rated local professionals and request free quotes.
You have the blueprints, the material list, and a contractor on standby. But before you swing the first hammer, there is an invisible threat that can derail your entire project: pests. Rodents nesting in attic insulation, termites feasting on wall studs, or cockroaches hiding behind cabinets can turn a straightforward renovation into a costly nightmare. Addressing pest control during home renovation preparation is not just a precaution; it is a critical step that protects your investment, your family's health, and the structural integrity of your home. By tackling infestations before demolition begins, you avoid contaminating your living space, prevent damage to new materials, and ensure that your renovation starts on a clean, safe foundation.
Many homeowners overlook this essential phase, only to discover expensive problems after walls are opened or new floors are installed. In fact, uncovering a hidden termite colony mid-renovation can halt work for weeks and add thousands to your budget. This guide explains why pest management must be integrated into your pre-renovation checklist, how to identify warning signs, and the most effective strategies to keep pests out from the first day of construction to the final walkthrough.
Why Pest Control Is Essential Before You Renovate
Renovation is disruptive by nature. You are tearing down walls, moving appliances, and creating new entry points for pests. If you fail to address an existing infestation, you are essentially giving pests a free pass to spread throughout your home. For example, rats and mice can chew through electrical wiring, creating fire hazards, while carpenter ants can weaken load-bearing beams. Even a small, unnoticed problem can escalate quickly once you disturb their habitat during construction.
Additionally, pests pose significant health risks. Rodent droppings and urine can trigger allergies and asthma, especially in children. Cockroach saliva and feces contain allergens that are particularly problematic. During a renovation, these contaminants can become airborne, compromising indoor air quality. By scheduling a professional inspection and treatment as part of your preparation, you protect not only the structure but also the respiratory health of everyone living in the home.
From a financial perspective, early intervention is far more cost-effective than damage repair. Treating a termite infestation before you replace drywall is much cheaper than replacing the drywall twice. Similarly, sealing entry points before installing new siding prevents future infestations that would require you to tear out your fresh work. In short, pest control during home renovation preparation is an investment that saves you from unexpected, high-cost surprises later.
How to Identify a Pest Problem Early
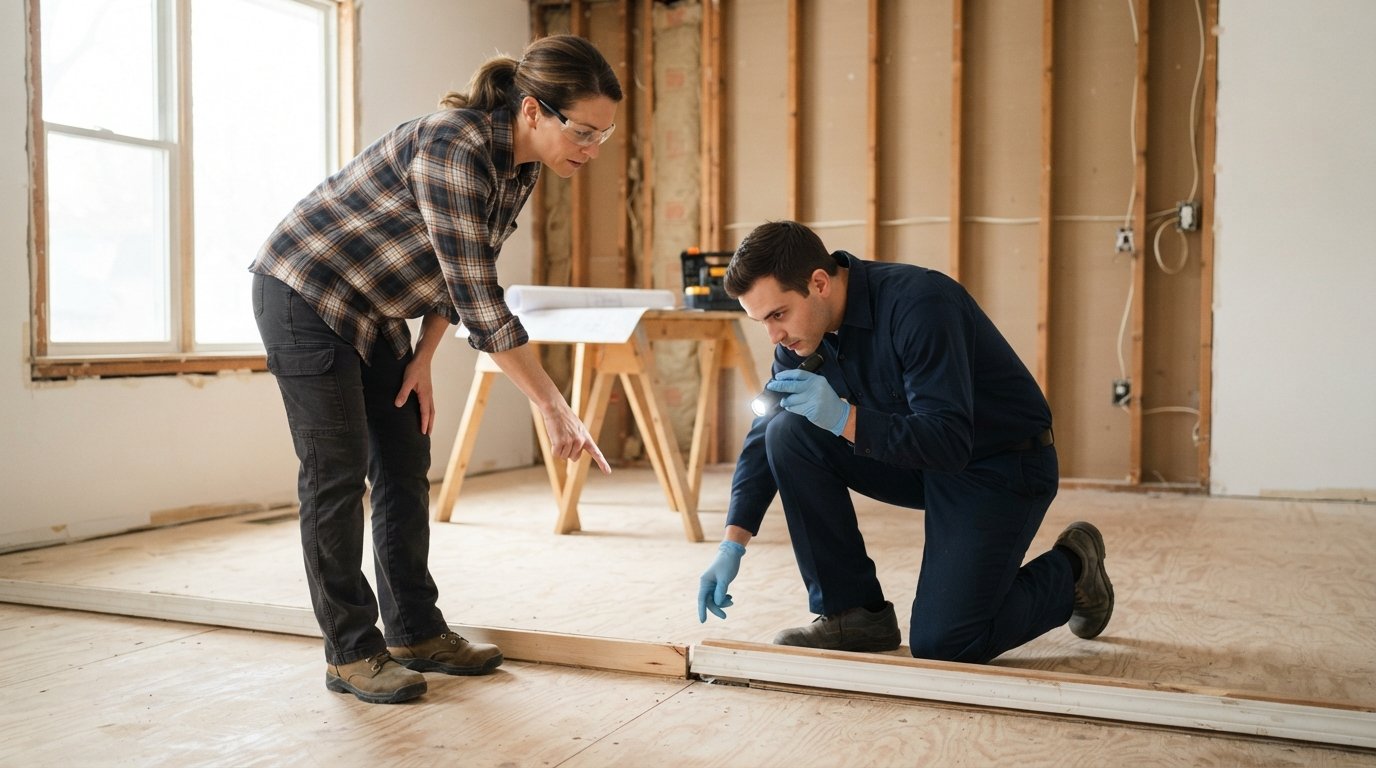
Before you start any demolition, conduct a thorough inspection of your home to spot signs of pest activity. Walk through your attic, basement, crawl spaces, and the perimeter of your property. Look for droppings, gnaw marks, and nesting materials. Pay special attention to areas where wood meets the ground, as these are prime entry points for termites. If you see mud tubes along foundation walls or on floor joists, you almost certainly have termites. Similarly, check for frass, which is the fine, sawdust-like wood powder left behind by carpenter ants and termites.
Other indicators include unusual pet behavior, such as dogs or cats scratching at walls or floors, and strange noises at night, which could suggest rodents or squirrels in the attic. You might also notice a musty smell, which can indicate a hidden nest or a moisture problem that attracts pests. For a comprehensive list, consider the following warning signs that should trigger a professional inspection:
- Droppings or urine stains in cabinets, along baseboards, or in the attic
- Gnaw marks on wood, plastic, or electrical wires
- Live or dead insects, such as cockroaches, ants, or silverfish
- Mud tubes or frass near wooden structures
- Damaged insulation with tunnels or nesting materials
If you notice any of these signs, do not ignore them. A quick call to a licensed pest control professional can provide a definitive diagnosis and a treatment plan. Remember, the goal is to eliminate pests before you give them new places to hide. If you are planning a major renovation, it is wise to have an inspection even if you have not seen direct evidence, as many infestations remain hidden until walls are opened.
Key Steps to Pest-Proof Your Renovation
Once you have confirmed that your home is pest-free, or after you have treated an existing problem, you need to implement measures to prevent future invasions during the renovation process. This involves a combination of exclusion, sanitation, and material management. Start with an exterior walkaround. Seal any gaps or cracks in your foundation, siding, and roof. Use steel wool or expanding foam to fill holes where pipes or wires enter your home, as these are common highways for rodents. Check that all vents, including those for your dryer and attic, have fine mesh screens to block insects and birds.
Inside the home, focus on the areas you are about to renovate. If you are tearing down walls, remove all debris promptly. Piles of wood, cardboard, and other construction waste are magnets for pests. Keep your job site clean by sweeping up sawdust and disposing of scrap materials daily. Also, store new materials like lumber and drywall off the ground and away from walls, preferably on pallets, to prevent termites and carpenter ants from taking refuge. If you are working in the kitchen, remember that food debris will attract pests, so seal all food in airtight containers and clean up after every meal.
Another critical step is to educate your contractor about your pest prevention goals. Ask them to avoid leaving doors and windows open for extended periods and to seal any openings they create at the end of each workday. If you have pets, make sure they do not have access to the work area, as they can track pests or disturb traps. By keeping the site secure and clean, you dramatically reduce the risk of an infestation taking hold during construction.
Treating an Existing Infestation
If your inspection reveals that you already have an infestation, you must address it before any renovation work begins. The treatment method will depend on the type of pest you are dealing with. For rodents, trapping and exclusion are the most effective first steps. Set traps in strategic locations, and once you have captured the animals, seal all entry points to prevent new ones from coming in. For cockroaches and ants, baits and insecticidal sprays can be used, but it is essential to identify the species to choose the right product. In many cases, a professional will use a combination of gel baits, dust, and sprays that are safe for humans and pets when applied correctly.
Termites and carpenter ants require a more aggressive approach. Spot treatments are rarely sufficient, as the colony can be extensive. A pest control expert may recommend a liquid soil treatment, a baiting system, or even fumigation for severe infestations. This is not a DIY job; a licensed professional has the equipment and knowledge to eliminate the colony at its source. Once the treatment is complete, your contractor can then repair any structural damage that the pests caused, ensuring that your renovation builds on a sound framework.
It is also important to consider the timing of your pest control treatments. Some chemicals require a waiting period before it is safe for humans and pets to occupy the space. Plan your pest control service at least a week before your renovation starts to allow ample time for the treatment to work and for any residual odor to dissipate.
Working With a Pest Control Professional
Hiring a reputable pest control company is the most reliable way to ensure your home is protected. But how do you choose the right one? Start by asking for recommendations from your contractor or neighbors who have recently renovated. Look for companies that are licensed and insured, and ask about their experience with pre-renovation treatments. A good professional will not just spray and leave; they will conduct a thorough inspection, explain their findings, and recommend a customized plan that addresses your specific needs and the scope of your renovation.
When comparing quotes, do not automatically choose the cheapest option. Ask for a detailed breakdown of what services are included, such as exterior barrier treatments, interior spot treatments, and follow-up visits. Inquire about the products they use and whether they are eco-friendly or pet-safe. Also, check for guarantees. Many reputable companies offer free re-treatments if pests return within a certain period, which gives you peace of mind during the messy middle phase of your project.
To make the process smoother, consider combining your pest control appointment with a pre-renovation home inspection. Professionals, like those you can find through repair services, often work with a network of specialists who can handle everything from pest removal to structural repairs. This integrated approach ensures that no stone is left unturned and that your renovation prep is as comprehensive as possible.
Post-Treatment and During-Renovation Monitoring
After your initial pest control treatment, your job is not done. You need to monitor the situation throughout the renovation. Place traps (glue boards or snap traps) in corners of rooms being worked on, and check them daily. If you catch an insect or rodent, that is a signal that there is a gap in your defenses. Notify your pest control provider immediately so they can adjust their strategy. Also, instruct your contractor to be vigilant. They are on-site daily and can spot signs of activity, such as fresh droppings or new gnaw marks, before you might notice them.
Maintain a clean job site, even if it feels like a losing battle. Vacuum up sawdust and debris at the end of each day, and dispose of it in sealed bags. Do not let trash accumulate overnight, as this invites nocturnal pests. If you are storing appliances or furniture in a garage or shed during the renovation, inspect those areas periodically, as they can become harborage points.
Finally, before you move back into the renovated space, consider a final pest control treatment. This is especially important if you have had an infestation in the past or if your renovation involved opening walls, which can disturb dormant eggs or hidden colonies. A professional can apply a residual barrier that will protect your home for months, ensuring that your beautiful new space remains pest-free.
Incorporating pest control during home renovation preparation might feel like an extra step, but it is a small price to pay for the long-term health and safety of your home. By following these guidelines, you are not just fixing up a house; you are protecting your sanctuary. And when the renovation is complete, you can enjoy your new space with confidence, knowing that you have built it on a solid, pest-free foundation.