
Spring Home Repair and Upgrade Planning Checklist
Use this spring home repair and upgrade planning checklist to prioritize projects, set a realistic budget, and hire vetted contractors without overspending.

By Elena John
Learn more about Handyman for guides, costs, and what to expect.
Compare Handyman Pros Near You

Enter your ZIP code to compare top-rated local professionals and request free quotes.
Spring arrives with longer days, warmer temperatures, and a sudden urge to fix everything that winter wore down. But jumping straight into repairs without a plan often leads to overspending, unfinished projects, and contractor headaches. A structured spring home repair and upgrade planning checklist turns that scattered enthusiasm into a clear, budget-friendly roadmap. Whether you are patching a leaking roof, refreshing a bathroom, or finally replacing those drafty windows, the difference between a smooth project and a stressful one comes down to preparation. This guide walks you through every phase: assessing damage, setting priorities, budgeting, vetting contractors, and scheduling work so your home is ready for the season ahead.
Start With a Full Property Assessment
Before you write a single check or call a contractor, you need an honest picture of what your home actually needs. Winter is brutal on roofs, gutters, siding, foundations, and driveways. Freeze-thaw cycles crack concrete, ice dams damage shingles, and clogged gutters send water into places it should never go. A thorough walkthrough in early spring catches small problems before they become expensive emergencies.
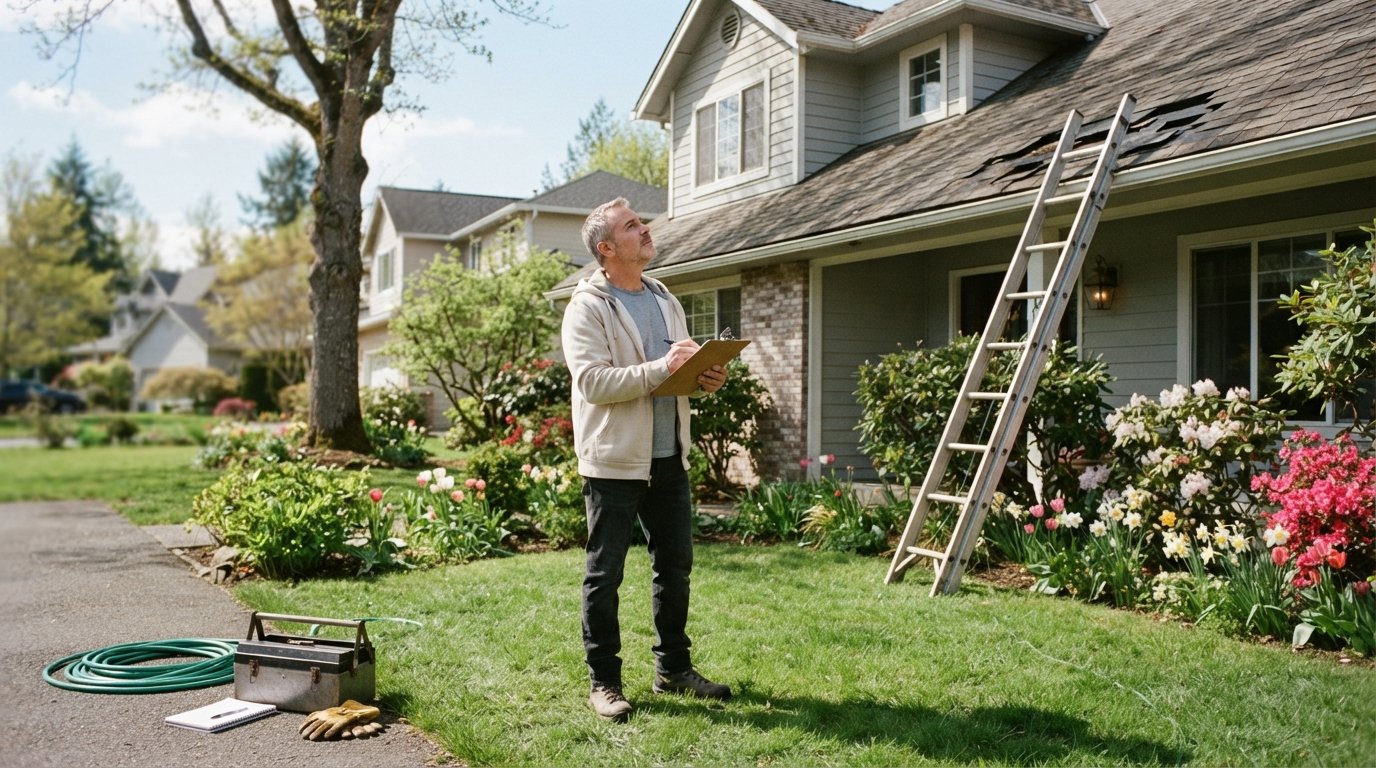
Grab a notebook and inspect your home from top to bottom. Start with the roof: look for missing shingles, cracked flashing, or granules collecting in gutters. Check exterior walls for cracks, peeling paint, or soft spots that suggest moisture intrusion. Inside, examine ceilings and walls for water stains, test windows and doors for drafts, and listen for unusual sounds from your HVAC system. Do not forget the basement or crawl space, where dampness and foundation cracks often hide.
Once you have your list, sort issues into three buckets: urgent safety hazards, functional problems, and cosmetic upgrades. Urgent items include anything that threatens your home's structure or your family's health, such as roof leaks, mold, or faulty wiring. Functional problems affect comfort and efficiency, like a failing water heater or worn weather stripping. Cosmetic upgrades are optional improvements that boost enjoyment or resale value. This ranking prevents you from blowing your budget on a kitchen refresh while a leak quietly rots your attic.
Set a Realistic Budget and Prioritize Projects
Home repair costs add up fast, and spring is peak season for contractor demand, which means higher prices and longer wait times. Setting a realistic budget before you seek quotes keeps you in control. A common guideline is to allocate 1 to 3 percent of your home's value annually for maintenance and repairs. If your home is worth $400,000, plan on $4,000 to $12,000 per year for upkeep, though major upgrades like a bathroom remodel or roof replacement require separate savings.
Prioritize projects by urgency, return on investment, and personal comfort. A leaking roof always comes first, even if you dream of a new deck. After safety and structural issues, focus on improvements that reduce energy bills or increase resale value. For example, adding insulation or sealing air leaks often pays for itself within a few years. Cosmetic upgrades can wait until your must-do list is complete and your emergency fund is intact.
To organize your spending, break your budget into categories. A simple framework looks like this:
- Emergency reserve (20-30 percent): Set aside funds for surprises like hidden rot, code violations, or price increases discovered mid-project.
- Must-do repairs (40-50 percent): Cover urgent safety and functional fixes, including roofing, plumbing, electrical, and HVAC issues.
- Value-adding upgrades (20-30 percent): Invest in projects with strong ROI, such as window replacement, minor kitchen updates, or insulation.
Once your categories are funded, you can approach contractors with a clear scope and a firm ceiling. This also makes it easier to compare bids fairly. If you are planning a flooring upgrade, for instance, a flooring upgrade cost estimator can help you translate square footage into a realistic budget line before you request quotes.
Build Your Spring Repair and Upgrade Checklist
A checklist keeps you from forgetting critical tasks and helps you sequence work efficiently. Some repairs should happen before others to avoid rework or damage. For example, fix roof leaks before painting ceilings, and clear gutters before landscaping. Your checklist should also account for permits, inspections, and material lead times, which can stretch for weeks in busy spring months.
Here is a comprehensive spring checklist organized by system. Use it as a starting point and customize it for your climate and home age.
Roof, Gutters, and Drainage
- Inspect shingles, flashing, and chimney seals for damage.
- Clean gutters and downspouts, then test water flow.
- Check attic ventilation and look for signs of leaks or mold.
- Schedule professional roof repairs if you spot missing shingles or sagging areas.
Exterior Surfaces and Foundation
- Examine siding, trim, and paint for cracks or peeling.
- Seal gaps around windows, doors, and utility penetrations.
- Inspect the foundation for new cracks or shifting.
- Repair or reseal driveways, walkways, and patios.
HVAC and Indoor Air Quality
- Replace HVAC filters and schedule a professional tune-up.
- Clean dryer vents and check for blockages.
- Test carbon monoxide and smoke detectors.
- Consider duct cleaning or sealing if you notice uneven temperatures.
Plumbing and Water Systems
- Check for leaks under sinks, around toilets, and near water heaters.
- Test sump pumps and backflow valves.
- Insulate exposed pipes in basements or crawl spaces.
- Flush the water heater to remove sediment.
Windows, Doors, and Insulation
- Inspect weather stripping and caulking around windows and doors.
- Check for condensation between window panes, a sign of seal failure.
- Add insulation to attics, crawl spaces, or garages if needed.
- Consider upgrading to energy-efficient windows for long-term savings.
Work through this checklist systematically, documenting what you find. Photos and notes will be invaluable when you request contractor estimates or file insurance claims. Once your list is complete, group tasks by trade (roofing, plumbing, electrical, etc.) so you can bundle work and potentially negotiate better rates.
Find and Vet Contractors the Right Way
Hiring the right contractor is the single most important decision in any repair or upgrade project. A skilled professional delivers quality work on time and on budget. A bad hire can turn a simple repair into a financial nightmare. Spring is a busy season, so start your search early and be prepared to wait for the best pros.
Begin by asking friends, family, and neighbors for recommendations. Then verify each candidate's license, insurance, and bonding status through your state or local licensing board. Read online reviews on multiple platforms, and pay attention to how contractors respond to negative feedback. A professional who addresses complaints calmly and constructively is often a safer bet than one with a perfect record and no accountability.
When you have a shortlist, invite at least three contractors to bid on your project. Provide them with the same detailed scope of work so you can compare apples to apples. Ask for references from similar projects completed in the past year, and follow up with those homeowners. Finally, trust your instincts: if a contractor is pushy, evasive, or demands a large upfront payment in cash, walk away.
For homeowners who want a streamlined way to connect with pre-vetted local professionals, platforms like Repairmen offer a nationwide network of licensed and reviewed service experts for appliance repair, remodeling, maintenance, and emergency fixes. Their directory and cost guides can simplify the search, especially when you need to compare multiple trades for a complex spring project.
Once you have selected a contractor, insist on a written contract that details the scope, timeline, payment schedule, and warranty. Never pay more than 10 to 20 percent upfront, and hold a final payment until all work passes your inspection. Keep a paper trail of all communications, change orders, and receipts. This protects you if disputes arise later.
Schedule Work and Prepare for Disruption
Spring weather can be unpredictable, so build flexibility into your schedule. Roofing and exterior painting require dry conditions, while plumbing and electrical work can happen rain or shine. Sequence projects to minimize disruption: complete exterior work first, then move indoors. If you are remodeling a kitchen or bathroom, plan for temporary alternatives, such as a makeshift kitchen setup or access to a second bathroom.
Communicate clearly with your contractor about start dates, working hours, and access to utilities. Clear your driveway, move fragile items away from work zones, and protect floors and furniture with drop cloths. If you have pets or children, discuss safety protocols with your contractor before work begins. A little preparation goes a long way toward keeping the project stress-free.
Expect the unexpected. Hidden damage, material delays, and weather setbacks are common. Build a buffer of at least 10 to 15 percent in both your budget and your timeline. If a project falls behind, stay calm and communicate with your contractor. Most professionals will work with you to find solutions if you maintain a respectful, collaborative relationship.
Review, Maintain, and Plan for Next Year
Once your spring projects are complete, take time to review the work. Inspect everything carefully before making the final payment. Test new systems, check for leaks, and confirm that all debris has been removed. Ask your contractor for warranties and maintenance instructions, and file them with your home records.
Regular maintenance extends the life of your repairs and upgrades. Change HVAC filters monthly, clean gutters twice a year, and reseal exterior surfaces as needed. Keep a simple log of all work performed, including dates, costs, and contractor contact information. This record is invaluable when you sell your home or file an insurance claim.
Finally, use this spring's experience to plan for next year. Did you discover recurring issues, such as poor drainage or insufficient insulation? Add them to your fall or next-spring checklist. By staying proactive, you avoid emergency repairs and keep your home in top condition year after year.
A well-executed spring home repair and upgrade planning checklist does more than fix what winter broke. It protects your investment, improves your comfort, and gives you confidence that your home is safe and efficient. Start early, budget wisely, hire carefully, and stay flexible. Your future self, and your wallet, will thank you.