
Storm Damage Repair Steps and Contractor Hiring Guide
Storm damage repair steps and contractor hiring made simple. Learn how to document damage, vet pros, and avoid surprise bills after a major storm.

By Elena John
Learn more about General Contracting for guides, costs, and what to expect.
Compare General Contracting Pros Near You

Enter your ZIP code to compare top-rated local professionals and request free quotes.
A single severe storm can turn a settled home into an emergency in minutes. Hail punches through shingles, wind peels back siding, and water finds every gap you never knew existed. In the chaotic days that follow, homeowners face two hard jobs at once: stopping the damage from spreading and finding a contractor who will not take advantage of the situation. This guide walks you through storm damage repair steps and contractor hiring with a clear, practical sequence so you can protect your property, document everything, and bring in a qualified professional without overpaying.
The pressure is real. Storm-chasing crews roll into neighborhoods within hours, offering same-day inspections and dramatic promises. Meanwhile, your insurance clock is ticking and every rain shower threatens to make a bad situation worse. The homeowners who come out ahead are not the ones who move fastest. They are the ones who move in the right order. Knowing that order, and knowing what to ask before you sign anything, is the difference between a fair claim and a financial headache.
Step 1: Secure the Property and Document Everything
Before you call anyone, make the scene safe and build a record. Safety comes first: if you smell gas, see exposed wiring, or notice structural sagging, leave the house and call emergency services. Once the immediate danger is handled, your job shifts to documentation. Insurance adjusters rely on evidence, and the more you capture in the first 48 hours, the smoother your claim will go.
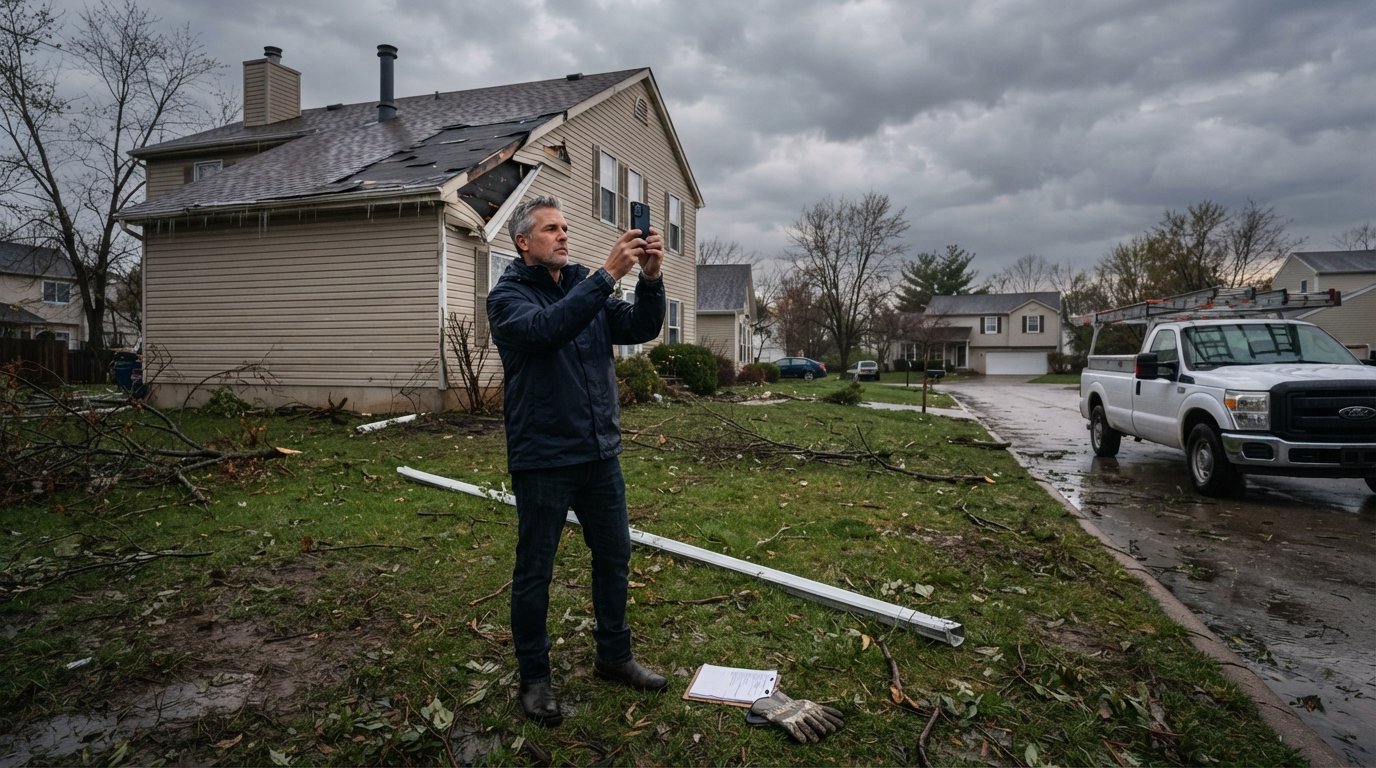
Walk the exterior and interior with your phone and photograph everything: missing shingles, dented gutters, cracked windows, water stains on ceilings, and wet insulation in the attic. Take wide shots that show the damage in context, then close-ups that show texture and depth. If you can, place a ruler or coin next to hail dents for scale. Save the images to cloud storage so they cannot be lost or damaged.
Prevent further damage with temporary measures, but keep them modest. Tarping a roof, boarding a window, or placing buckets under leaks is reasonable and usually reimbursable. What you should not do is start permanent repairs before your insurer has seen the damage. A few smart precautions protect both your home and your claim.
- Photograph and video all damage inside and out, with timestamps if possible.
- Keep receipts for tarps, plywood, hotel stays, and any emergency supplies.
- Move valuables and electronics away from leaks and standing water.
- Write down the date, time, and severity of the storm for your records.
Once your documentation is solid, call your insurance company and open a claim. Ask for the claim number, your adjuster's name, and an estimate of when they will visit. Keep a simple log of every call: who you spoke with, what was promised, and when. This log becomes your backup if the process drags or a dispute arises.
Step 2: Understand Your Policy Before You Spend a Dollar
Most homeowners glance at their policy once and never look again until a crisis. That is a mistake. Before you agree to any repair or replacement, read the sections that govern storm damage: your deductible, your coverage limits, and whether the policy pays actual cash value (ACV) or replacement cost value (RCV). The difference matters enormously. ACV pays you the depreciated value of your roof or siding, while RCV pays what it actually costs to replace it today, minus your deductible.
You should also understand how your insurer handles a total loss versus a partial repair. If half your roof is damaged, some policies pay to replace the entire slope for color matching, while others pay only for the damaged section. Knowing this in advance helps you evaluate contractor bids realistically and prevents surprise bills later.
When you request quotes, be upfront with contractors about your policy type and deductible. Honest professionals will factor this into their bids. Contractors who promise to "waive your deductible" are offering something that is generally illegal in many states and a red flag for insurance fraud. Walk away from anyone who suggests it.
If your claim is denied or underpaid, you have options. You can request a re-inspection, hire a public adjuster, or file an appeal with supporting documentation. Understanding your rights early keeps you from accepting a lowball offer out of exhaustion. For a closer look at how bids are structured and negotiated, see this guide on understanding storm damage repair quotes, which breaks down line items and common pricing tactics.
Step 3: Vet Contractors Like Your Home Depends on It
After a major storm, your neighborhood fills with out-of-state trucks and door-to-door salespeople. Some are legitimate, many are not. The single most important filter is licensing and insurance. Ask for the contractor's state or local license number and verify it with the issuing board. Then request a certificate of insurance showing both general liability and workers' compensation coverage. Call the insurer to confirm the policy is active. A contractor who cannot produce these documents within a day is not worth your time.
Experience matters too, but not just any experience. You want a company that has worked on storm claims in your area and knows the local building codes, permit process, and weather patterns. Ask how many similar projects they completed in the past year and request addresses or photos you can review. A reputable contractor will happily share references and may even let you speak with past clients.
Beware of high-pressure tactics. Demands for a large upfront cash payment, offers to handle your insurance claim for you, and claims that "prices double tomorrow" are classic warning signs. A professional will give you a written contract, a clear timeline, and a payment schedule tied to milestones rather than a lump sum on day one.
If you would rather skip the door-to-door lottery, a vetted network such as Repairmen can connect you with licensed, reviewed local professionals who handle emergency repairs and remodeling, saving you the risk of hiring a stranger off the street.
Once you have three or four candidates, compare their bids line by line. Do not simply choose the lowest number. Look at what is included: permits, disposal fees, underlayment, flashing, and warranty terms. A bid that is 20 percent cheaper often excludes critical work that will surface as a change order later. For a deeper walkthrough of how to break down a quote and spot missing items, the guide on storm damage repair quotes linked above is a useful companion.
Step 4: Get Everything in Writing Before Work Begins
A handshake is not a contract. Before any crew climbs onto your roof or tears out drywall, you need a written agreement that spells out the scope, the price, and the timeline. The scope should list every material by type and brand, every task from tear-off to cleanup, and every permit the contractor will pull. Vague language like "repair roof as needed" invites disputes.
Payment terms deserve special attention. A common and fair structure is a modest deposit (10 to 20 percent) to secure materials, followed by progress payments as milestones are completed, with a final payment held until you have inspected the finished work and received lien waivers from subcontractors and suppliers. Never pay the full amount upfront, and never pay in cash without a receipt.
Your contract should also address change orders. Storms often reveal hidden damage once work begins, such as rotted decking under shingles or mold behind siding. The contract should state how additional work is priced, approved, and documented. Require written change orders signed by both parties before extra work proceeds.
Finally, confirm the warranty in writing. Ask for both a manufacturer warranty on materials and a workmanship warranty from the contractor. Understand what each covers, how long it lasts, and whether it is transferable if you sell your home. A strong warranty is a sign that the contractor stands behind the work.
Step 5: Manage the Project and Close It Out Properly
Once work begins, your role shifts from decision-maker to project manager. Check in regularly, but avoid micromanaging. Ask for daily or weekly updates on progress, and photograph the work at each stage, especially before walls or roofing underlayment are covered up. These photos are valuable if a problem appears later. Keep a running file of all correspondence, receipts, and change orders.
When the job is finished, do not pay the final invoice until you have completed a thorough walkthrough. Inspect the work against the contract scope, test gutters and drainage, check for stray nails in the yard, and confirm that all debris has been removed. If your insurer requires a certificate of completion, make sure the contractor provides it. Only after you are satisfied should you release the final payment.
If a dispute arises, address it in writing immediately. Send a dated letter or email describing the problem and requesting a remedy within a set timeframe. Most issues are resolved at this stage. If they are not, you can escalate to your state licensing board, your insurer, or a mediator. Keeping calm, factual records throughout the project makes this process far easier.
Storm damage is stressful, but it is manageable when you follow a sequence: secure and document, understand your policy, vet contractors carefully, get everything in writing, and manage the project to completion. Homeowners who take these steps recover faster and spend less. Those who skip them often pay twice, once for the repair and once for the mistakes.