
Emergency Home Repair Kit Essentials Before Calling a Pro
Stock your emergency home repair kit essentials before calling a pro to limit damage and save money. Call (833)-211-1668 for expert contractor matching.

By Olivia Owens
Learn more about Handyman for guides, costs, and what to expect.
Compare Handyman Pros Near You

Enter your ZIP code to compare top-rated local professionals and request free quotes.
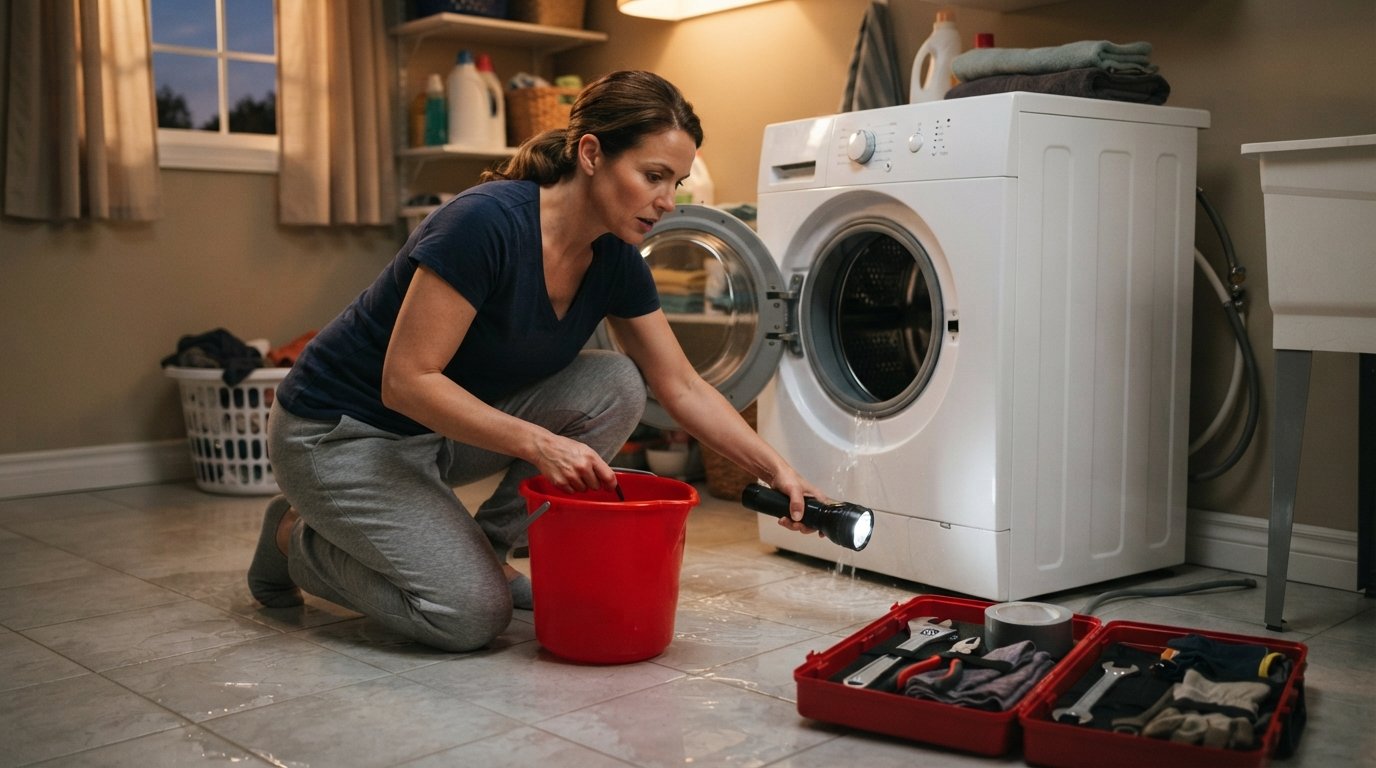
It is 9 p.m. on a Sunday when you hear the unmistakable sound of water spraying behind the washing machine. Your first instinct might be to grab your phone and start searching for an emergency plumber. But before you make that call, the actions you take in the first five minutes can mean the difference between a minor cleanup and a full-scale renovation. Having a well-stocked emergency home repair kit and a clear plan of action allows you to limit the damage, protect your family, and give the professionals the information they need to fix the problem fast. This guide covers the essentials you need on hand, how to document damage for insurance, and when it is truly time to call in a pro versus handling it yourself.
Essential Tools and Supplies for Your Emergency Kit
A proper emergency kit is not just a random collection of tools in a junk drawer. It should be organized, accessible, and tailored to the most common household disasters: water leaks, power outages, and temporary structural damage. You do not need a professional-grade workshop, but you do need reliable items that work when you are stressed and in a hurry. Think of this kit as your first line of defense, designed to stabilize the situation until a licensed contractor arrives.
Start with water management, since water damage is one of the most common and costly emergencies homeowners face. A burst pipe or a failed appliance hose can release gallons of water into your home in minutes. Your kit should include a water shutoff tool (a meter key) and a supply of old towels or absorbent rags. Knowing where your main water valve is located is just as important as having the tool to turn it. If you live in an area prone to freezing temperatures, consider adding pipe insulation tape and a heat gun to thaw frozen pipes safely.
Electrical emergencies require a different set of supplies. You should have a voltage tester, a headlamp or flashlight with fresh batteries, and a fire extinguisher rated for electrical fires (Class C). Never attempt to repair electrical wiring yourself, but having these items allows you to safely identify the problem and cut power to the affected circuit before a professional takes over. A basic first aid kit is also non-negotiable, as minor injuries can happen during cleanup.
For temporary patches and structural stabilization, gather a few versatile materials. Heavy-duty tarps, duct tape, plastic sheeting, and plywood boards can cover a broken window or a leaking roof until help arrives. A pry bar and a hammer are useful for minor demolition or to access shutoff valves. Finally, keep a notebook and a waterproof pen in your kit to jot down observations or contact information. Here is a quick checklist of the core items your kit should contain:
- Water shutoff tool (meter key) and adjustable wrench
- Flashlight or headlamp with extra batteries
- Voltage tester and electrical tape
- Heavy-duty tarp, plastic sheeting, and duct tape
- Fire extinguisher (Class C for electrical, Class A for general)
- First aid kit and work gloves
- Notebook and waterproof pen
Once you have these basics, check your kit every six months to replace expired batteries and worn items. A well-maintained kit gives you confidence to act quickly and reduces the risk of further damage while you wait for professional help.
Water, Electrical, and Temporary Patch Supplies: The Three Pillars of Emergency Preparedness
Beyond the general checklist, it helps to think of your emergency kit in three functional categories: water control, electrical safety, and temporary patching. Each category addresses a specific type of crisis, and having dedicated supplies for each ensures you are not scrambling to find the right tool when seconds count.
Water control is about stopping the flow and containing the mess. In addition to a shutoff tool, consider keeping a few water leak detection alarms near your water heater and washing machine. These inexpensive devices sound an alert at the first sign of moisture, giving you precious time to act. If a leak is coming from a pipe joint, pipe repair tape or a slip-on coupling can provide a temporary seal. However, these are stopgap measures only; a licensed plumber should make the permanent repair. For minor leaks under a sink, a bucket and sponge can prevent water from spreading across the floor.
Electrical safety means knowing how to kill power to a circuit and avoiding shock hazards. A voltage tester helps you confirm that a wire is dead before you touch anything, but remember that only a qualified electrician should perform repairs. If you see sparks, smell burning, or notice a hot outlet, shut off the main breaker and call an emergency electrician immediately. Keep a fire extinguisher within reach and make sure every adult in the home knows how to use it. Do not use water on electrical fires; Class C extinguishers are designed for this purpose.
Temporary patching covers roof leaks, broken windows, and damaged walls. A tarp secured with roofing nails or heavy-duty tape can divert water from a leaking roof, but this is a temporary fix at best. For broken windows, plastic sheeting and duct tape can keep out rain and debris until a glazier arrives. Plywood boards can secure a door or window that has been damaged in a storm. Always prioritize your safety: if a repair requires climbing onto a roof or working at height, leave it to a professional. The goal of temporary patching is to prevent further damage, not to restore the home to its original condition.
How to Document Damage for Insurance Before Cleanup
Before you start mopping up water or sweeping away debris, grab your smartphone and start taking photos and videos. Insurance claims are far easier to process when you have clear, timestamped evidence of the damage. Your documentation should capture both the source of the problem (e.g., the burst pipe) and the resulting damage (e.g., soaked drywall, warped flooring). Walk through each affected room and take wide shots that show the overall scene, then close-ups of specific damage. If possible, include a ruler or a common object for scale.
As you document, make a written inventory of damaged items. List furniture, electronics, clothing, and any other belongings that have been affected. Do not throw anything away until your insurance adjuster has seen it or you have been instructed to do so. If you must remove waterlogged items to prevent mold, move them to a safe area (like a garage) and photograph them there. Keep receipts for any emergency purchases you make, such as fans, dehumidifiers, or temporary repairs, as these costs may be reimbursable under your policy.
Contact your insurance company as soon as it is safe to do so. Many insurers have 24-hour claims hotlines and can guide you through the process. Be honest and detailed about what happened. If you are unsure whether a repair is covered, ask. Do not authorize permanent repairs before the adjuster has assessed the damage, as this could jeopardize your claim. For urgent repairs that cannot wait, such as a burst pipe, you are typically allowed to take reasonable steps to prevent further damage, but keep all receipts and document everything you do.
When to Call a Pro Immediately vs. When to Wait Until Morning
Not every home repair issue requires an emergency callout. Understanding the difference can save you hundreds of dollars in after-hours fees and ensure that true emergencies get the attention they deserve. So how do you decide? The key is to assess the risk to safety and the potential for rapid, escalating damage.
Call a professional immediately if you encounter any of the following: a gas leak (evacuate and call your gas company from a safe location), a burst pipe or major water leak that you cannot shut off, a complete power outage that affects medical equipment, sparking outlets or burning smells from electrical panels, or structural damage such as a sagging ceiling or cracked foundation. These situations pose immediate danger and require expert intervention. Do not attempt to fix them yourself.
On the other hand, some issues can safely wait until normal business hours. A slow drip under a sink that you have contained with a bucket, a running toilet, a broken appliance that is not causing water damage, or a minor roof leak that you have temporarily patched are all examples of problems that can be scheduled for a next-day service call. In these cases, you can save money by avoiding after-hours premiums and give yourself time to compare quotes from multiple contractors. If you are unsure, err on the side of caution and call a professional for advice; many contractors will offer free phone consultations to help you decide.
When you do need after-hours help, be prepared to describe the problem clearly and provide your location. Ask for an estimate of the callout fee before you agree to the service. A reputable contractor will be transparent about their rates. If you feel pressured or the price seems excessive, hang up and call another company. You can also use a platform like Contractor.Homes to find pre-vetted local contractors who can respond quickly and fairly.
Finding After-Hours Contractors Without Overpaying
Finding a reliable contractor in the middle of the night can feel like a gamble. To avoid overpaying, start by having a list of trusted professionals saved in your phone before an emergency happens. Ask friends, neighbors, or your real estate agent for recommendations. You can also check online reviews and verify licenses through your state's contractor licensing board. When you call, ask specific questions: What is your after-hours callout fee? How soon can you arrive? Do you charge by the hour or by the job? Get a clear estimate before you authorize any work.
Another strategy is to use a lead generation service that connects you with multiple contractors. For urgent repairs, you can use our guide on understanding urgent home repair quotes to learn how to quickly compare offers and avoid price gouging. These platforms often have relationships with local professionals who are available 24/7 and can provide competitive quotes. Always confirm that the contractor is licensed and insured before allowing them into your home. If they cannot provide proof of insurance, do not hire them.
Finally, remember that the cheapest option is not always the best. A lowball quote may indicate inexperience or hidden fees. Look for a contractor who communicates clearly, arrives on time, and provides a written estimate. A fair price for after-hours work includes the technician's time, travel, and any materials used, plus a reasonable premium for the inconvenience of working outside normal hours. By being prepared and informed, you can get the help you need without feeling taken advantage of.
Building a comprehensive emergency home repair kit and knowing how to use it is one of the smartest investments you can make as a homeowner. It empowers you to act decisively in a crisis, minimize damage, and make informed decisions about when to call a professional. Combine your kit with a clear communication plan and a list of trusted contacts, and you will be ready for whatever comes your way. For more resources on finding and vetting contractors, explore the guides and quote request tools available on FreeQuotes.Contractors, where you can connect with pre-vetted local pros for any repair or renovation project.
Learn more about Handyman for guides, costs, and what to expect.
Compare Handyman Pros Near You
Enter your ZIP code to compare top-rated local professionals and request free quotes.