
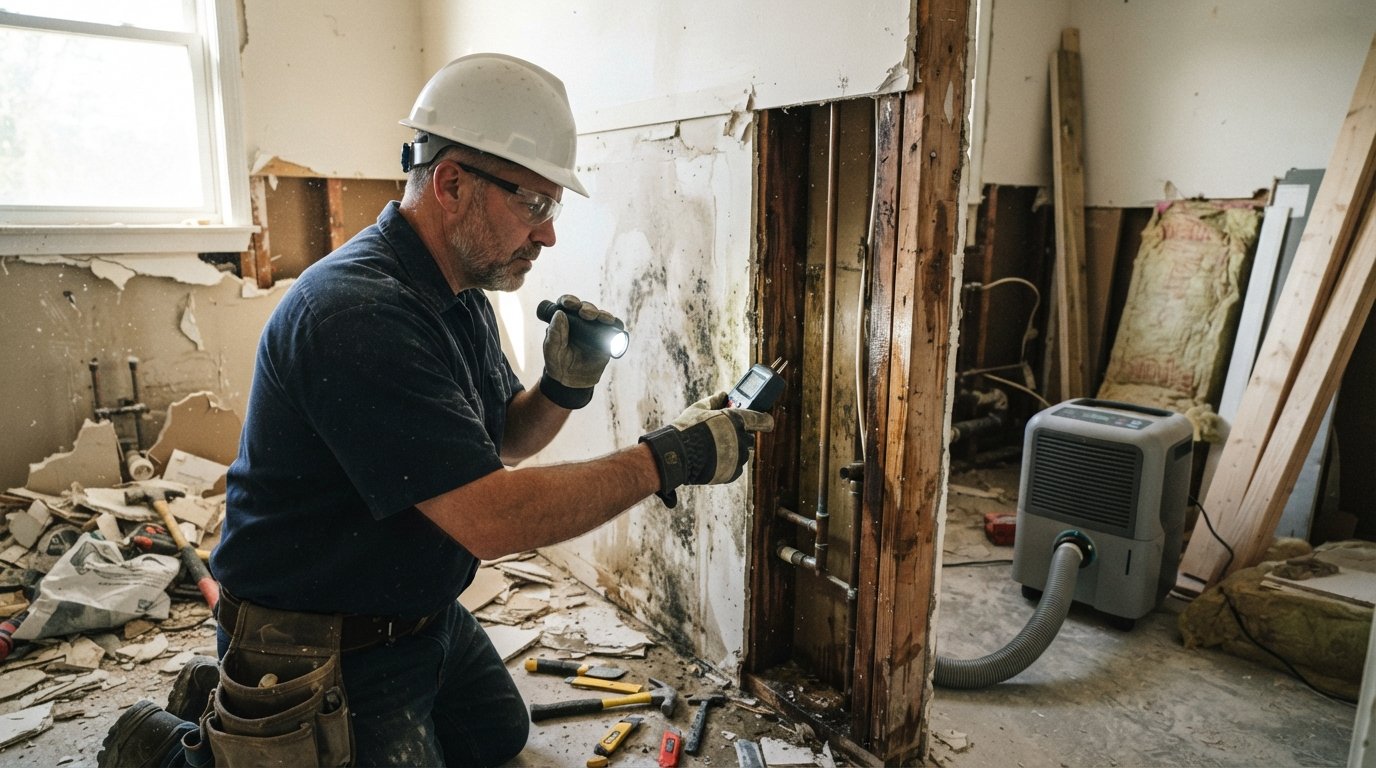
Mold Prevention During Bathroom and Kitchen Renovation
Mold prevention during bathroom and kitchen renovation protects your investment. Call 8332111668 for free quotes from local pros.

By Ethan Turner
Learn more about Mold Inspection and Removal for guides, costs, and what to expect.
Compare Mold Inspection and Removal Pros Near You

Enter your ZIP code to compare top-rated local professionals and request free quotes.
Water damage and mold growth are the hidden risks that can turn a dream renovation into a costly nightmare. Whether you are tearing out a dated bathroom or upgrading a kitchen, the combination of moisture, organic building materials, and closed-up spaces creates ideal conditions for mold spores to take hold. In fact, many homeowners only discover a mold problem weeks after the project is finished, when a musty smell appears or dark spots show up along a freshly painted wall. The good news is that mold prevention during bathroom and kitchen renovation is not complicated, but it does require planning before the first hammer swings. This guide walks you through practical, code-aware strategies to keep your remodel dry, healthy, and mold-free from demolition to final walkthrough.
Why Mold Loves Renovation Projects
Mold needs three things to thrive: moisture, organic food (like drywall paper, wood framing, or grout), and a dark, stagnant environment. A renovation disturbs all three. Demolition exposes wall cavities that may already have hidden leaks. New materials like drywall and lumber arrive with some moisture content. And once walls are closed up, any trapped dampness becomes a permanent buffet for mold spores. Bathrooms and kitchens are especially vulnerable because they are high-moisture rooms by design. A bathroom generates steam from showers and sinks, while a kitchen produces humidity from cooking and dishwashing. If your renovation does not account for proper ventilation, waterproofing, and drying, you are essentially building a mold farm behind your new tile.
Understanding the timeline helps too. Mold can begin growing within 24 to 48 hours of water exposure. That means a small leak behind a new vanity or a slow drip under a kitchen sink can colonize in less than two days. During a renovation, there are many opportunities for water intrusion: rain entering through an open roof, a pipe that sweats, or a temporary plumbing disconnect. Each of these events must be managed immediately. The goal is not just to kill existing mold but to design a building assembly that stays dry for decades.
Pre-Renovation Inspection and Moisture Testing
Before you demolish anything, inspect the existing space for signs of past or present moisture problems. Look for discolored drywall, peeling paint, soft spots in the subfloor, and rusted nails or screws. These are clues that water has been active. Use a pin-type or pinless moisture meter to check readings in walls, floors, and ceilings. Acceptable moisture content for wood framing is typically below 16 percent; anything higher suggests a leak or high humidity that must be addressed before you rebuild.
If you suspect hidden mold, consider hiring a certified mold inspector or industrial hygienist. They can take air samples and surface samples to identify spore types and concentrations. This step is especially important if occupants have allergies or asthma. Once you have a baseline, you can plan remediation if needed. Remember that mold prevention during bathroom and kitchen renovation starts with knowing what you are dealing with. Ignoring a small patch of mold behind a cabinet can lead to a much larger problem once new materials cover it up.
Waterproofing and Moisture Barriers That Actually Work
The most effective mold prevention strategy is to keep water away from organic materials in the first place. In bathrooms, that means installing a continuous waterproofing membrane behind tile in wet areas: shower walls, shower floors, and around the tub. Liquid-applied membranes or sheet membranes like bonded polyethylene are excellent choices. They create a seamless barrier that stops water vapor and liquid water from reaching drywall or wood framing. In kitchens, focus on areas around sinks, dishwashers, and refrigerators. Use waterproof backer board instead of standard drywall behind countertops and install a waterproof membrane under sink cabinets.
Vapor barriers are also critical, but they must be placed correctly. In cold climates, a vapor retarder goes on the warm side of the insulation to prevent condensation inside the wall cavity. In hot, humid climates, the strategy may be reversed or omitted depending on code. Always check local building codes and consult a qualified contractor. A common mistake is to install a vapor barrier on both sides of a wall, which traps moisture and creates a mold haven. Proper detailing around penetrations (like pipes and electrical boxes) is equally important. Seal every gap with caulk or foam approved for that purpose.
- Shower and tub areas: Apply a waterproof membrane over cement backer board, overlapping seams by at least 2 inches.
- Sink and appliance areas: Use waterproof backer board and seal all penetrations with silicone caulk.
- Flooring: In bathrooms, consider a waterproof underlayment or tile with epoxy grout to reduce water infiltration.
- Behind refrigerators and dishwashers: Install a drip pan with a drain line or a water alarm to catch slow leaks.
These measures add modest cost upfront but can save thousands in mold remediation and repairs later. When you request free quotes from local contractors through a platform like FreeQuotes.Contractors, ask specifically about their waterproofing approach and whether they include moisture barriers in their scope of work. A detailed kitchen renovation pricing guide for homeowners can help you compare bids that include these critical details.
Ventilation and Humidity Control
Even with perfect waterproofing, moisture from daily activities must be exhausted to the outside. Bathrooms need a properly sized exhaust fan that vents outdoors, not into the attic. The fan should run during showers and for at least 20 minutes afterward. Consider a timer or humidity-sensing switch to automate this. For kitchens, a range hood that vents outside is essential, especially if you cook frequently. Recirculating hoods filter grease and odors but do not remove moisture effectively.
During the renovation itself, you may need temporary ventilation. If you are demolishing walls, running a dehumidifier and box fans can help dry out the space. If the project involves plumbing rough-in, keep the area dry and avoid leaving water sitting in pipes or fixtures. After any water intrusion event (like a burst pipe or heavy rain through an open window), dry the area within 24 hours using fans and dehumidifiers. Mold prevention during bathroom and kitchen renovation is as much about active moisture management during the build as it is about long-term design.
Material Selection for Mold Resistance
Not all building materials are created equal when it comes to mold resistance. In moisture-prone areas, choose materials that resist mold growth or can be easily dried if they get wet. For example, paperless drywall (fiberglass-faced) is more mold-resistant than standard drywall because it lacks the paper that mold feeds on. Cement backer board, fiber-cement siding, and tile are inorganic and do not support mold. For cabinets, choose plywood with moisture-resistant adhesives or solid wood with a good sealant. Avoid particleboard in bathrooms and under sinks, as it swells and stays damp.
Paint and coatings also matter. Use mold-resistant paint in bathrooms and kitchens, especially on ceilings and walls. These paints contain antimicrobial additives that inhibit mold growth, though they are not a substitute for moisture control. Grout and caulk should be epoxy-based or silicone, which resist mold and mildew better than traditional cement grout. Finally, consider your insulation. Closed-cell spray foam insulation acts as a vapor barrier and does not absorb water, making it an excellent choice for rim joists and wall cavities in humid areas.
Proper Drying and Dehumidification During Construction
One of the most overlooked aspects of mold prevention during bathroom and kitchen renovation is the drying phase. After demolition, if you find wet framing or subfloor, you must dry it completely before enclosing it. This can take several days with professional-grade dehumidifiers and air movers. Do not rush this step. A moisture meter is your best friend here: check readings daily until they are within acceptable ranges. If you are installing new drywall, make sure it has not been exposed to rain or high humidity during storage. Ideally, store materials in a dry, covered area and bring them into the house only when ready to install.
During the project, keep the work area as dry as possible. If you are working in a bathroom, cover nearby surfaces and use a wet/dry vacuum to remove standing water immediately. For kitchen renovations, disconnect water lines carefully and cap them. If you are replacing a floor, ensure the subfloor is dry before laying new underlayment. A simple box fan and a dehumidifier can make a big difference. Also, avoid running the HVAC system during heavy dust and demolition if it draws moist air into the space; instead, use temporary filtration and ventilation.
Post-Renovation Monitoring and Maintenance
Once the renovation is complete, do not assume you are safe. Mold can still appear if a hidden leak develops or if humidity stays high. For the first few months, check under sinks, around toilets, and near the refrigerator for signs of moisture. Look for condensation on windows or pipes. Run exhaust fans regularly and keep indoor humidity between 30 and 50 percent. A inexpensive hygrometer can help you monitor levels. If you notice a musty odor, investigate immediately. Early detection is key to preventing a small mold issue from becoming a major health hazard.
If you ever need help with a plumbing leak, appliance repair, or a mold-related fix after your renovation, you can find vetted local professionals through Repairmen, a nationwide platform that connects homeowners with licensed service pros for appliance repair, remodeling, maintenance, and emergency repairs. They offer detailed service guides and cost estimators, which can be useful when you need a quick repair to stop water intrusion.
Working With Contractors to Ensure Mold-Safe Renovations
Your contractor plays a central role in mold prevention during bathroom and kitchen renovation. When you interview potential hires, ask about their moisture management practices. Do they use moisture meters? Do they install waterproof membranes? How do they handle unexpected water leaks? A reputable contractor will have clear answers and will include these steps in their written estimate. If you are comparing multiple bids, look for line items for waterproofing, ventilation, and drying. A low bid that skips these details may cost you more in the long run.
At FreeQuotes.Contractors, you can request free quotes from pre-vetted local contractors who specialize in bathroom and kitchen remodeling. The platform simplifies the process of finding and comparing professionals, so you can choose someone who prioritizes mold prevention. Before you sign a contract, make sure the scope of work includes specific moisture control measures. You can also ask for references from past clients and check if the contractor is licensed and insured. A little due diligence now prevents a moldy mess later.
Mold prevention during bathroom and kitchen renovation is not a single product or step; it is a mindset that runs through every phase of the project. From the initial inspection to the final coat of paint, keeping moisture out and drying wet materials quickly will protect your investment and your health. By following the strategies in this guide, you can enjoy a beautiful, durable renovation that stays mold-free for years to come.