
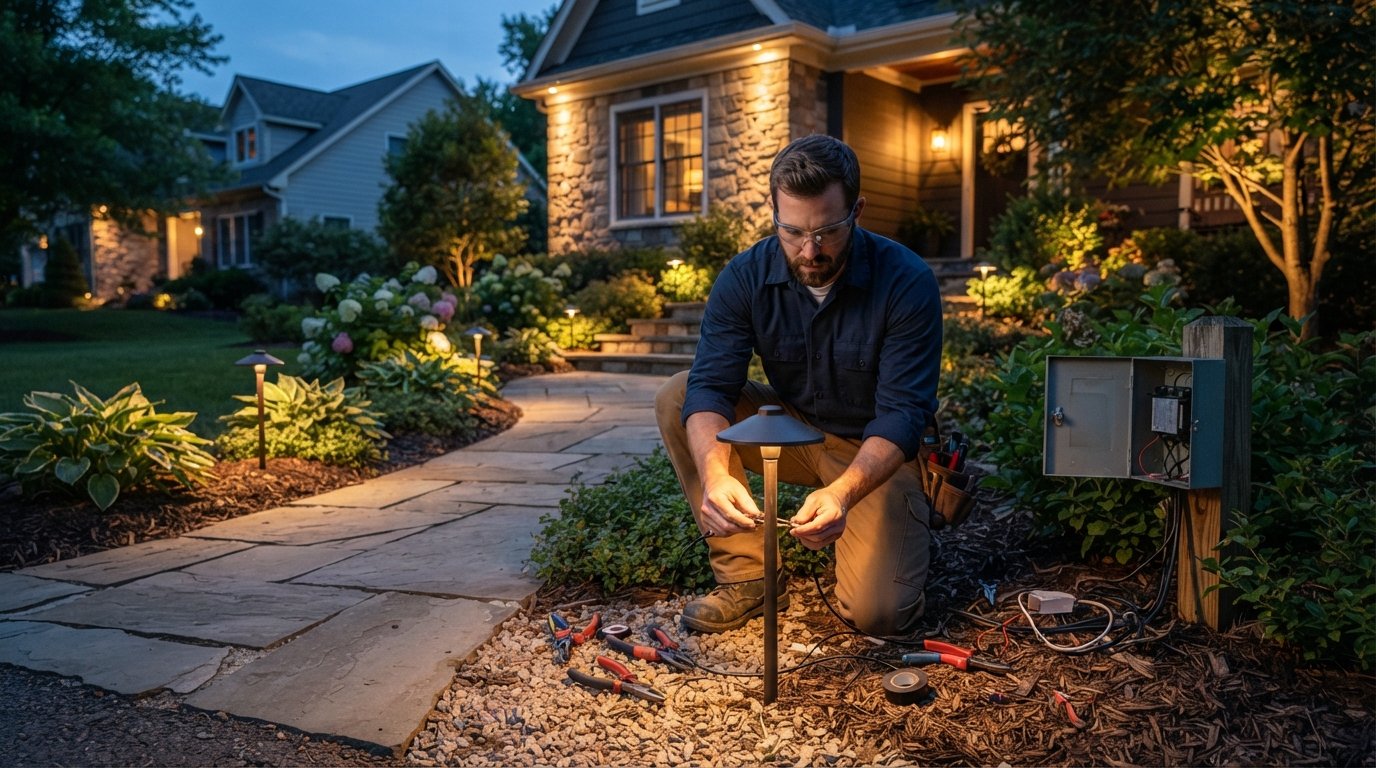
Exterior Lighting Installation Cost and Energy Savings
Exterior lighting installation cost and energy savings explained: LED upgrades cut bills by 75%. Call (833)-211-1668 for free quotes from local pros.

By Elena John
Learn more about Lighting Installation for guides, costs, and what to expect.
Compare Lighting Installation Pros Near You

Enter your ZIP code to compare top-rated local professionals and request free quotes.
Upgrading your outdoor lighting is one of the few home improvements that pays you back twice: once through lower electricity bills and again through better security and curb appeal. But how much should you budget for exterior lighting installation, and how much can you realistically save by switching to LED? The answers depend on the type of lighting you choose, your home's existing electrical setup, and whether you hire a specialist or a general electrician. This guide breaks down typical cost ranges, compares energy use across technologies, and explains the permits and hiring decisions that affect your bottom line.
Typical Exterior Lighting Installation Cost Ranges
Exterior lighting projects vary widely in scope, from a few path lights along a walkway to a full facade illumination system with smart controls. Most homeowners spend between $2,000 and $8,000 for a professionally installed package, but small jobs can cost under $1,000 and elaborate designs can exceed $15,000. The table below summarizes common project types and their typical price ranges, including materials and labor.
- Landscape lighting (path and garden): $1,500 to $5,000 for 6 to 12 low-voltage fixtures, transformer, wiring, and installation.
- Security lighting (motion sensors and floodlights): $800 to $3,500 for 3 to 6 fixtures, including wiring and sensor setup.
- Facade and architectural lighting: $3,000 to $12,000 for uplights, wall washers, and control systems that highlight architectural features.
- Deck and patio lighting: $1,200 to $4,000 for integrated step lights, post caps, and recessed fixtures.
- Smart lighting upgrades (app-controlled and automated): add $500 to $2,500 for hubs, timers, and Wi-Fi-enabled controls.
These figures assume you are hiring a licensed professional. DIY installations can cut labor costs by 40 to 60 percent, but they carry risks: improper wiring, code violations, and voided warranties. For any project that involves 120-volt line voltage or new circuits, professional installation is strongly recommended. Low-voltage landscape systems are more DIY-friendly, but even then, a qualified electrician can ensure proper transformer sizing and waterproof connections.
Labor typically accounts for 40 to 60 percent of the total cost, depending on your region and the complexity of the install. Trenching for underground wiring, running conduit through finished walls, and integrating smart controls all add time and expense. If your home lacks exterior outlets or has an older electrical panel, you may need additional work that pushes costs higher. For projects that combine lighting with other outdoor upgrades, such as a new fence, it helps to compare installation costs across materials; our guide on fence installation cost: wood vs vinyl vs metal explains how to budget for those complementary improvements.
LED vs Halogen: Energy and Lifespan Comparison
The single biggest factor in exterior lighting energy savings is the bulb technology you choose. Halogen bulbs, still common in older fixtures, use 35 to 50 watts each and last about 2,000 to 4,000 hours. LED equivalents use just 5 to 12 watts while producing the same brightness, and they last 25,000 to 50,000 hours. That means a typical 10-fixture landscape system running 5 hours per night can cut electricity use by 75 to 85 percent after switching to LED.
To put that in dollars, assume 10 halogen fixtures at 40 watts each, running 5 hours nightly. That is 2,000 watts per night, or 2 kWh. At $0.15 per kWh, you spend about $0.30 per night, or roughly $110 per year. With LED fixtures at 8 watts each, the same system uses just 0.4 kWh per night, costing about $22 per year. Over a 10-year period, the savings approach $900, not counting the replacement bulbs you avoid buying. If you have 20 fixtures or run them longer, the savings double or triple.
Lifespan matters just as much as wattage. A halogen bulb that lasts 3,000 hours will need replacement every 1.6 years if run 5 hours per night. LEDs in the same duty cycle last 13 to 27 years. That eliminates the labor and hassle of frequent bulb changes, especially for hard-to-reach fixtures. The table below summarizes the key differences.
- Wattage: Halogen 35 to 50W vs LED 5 to 12W for equivalent brightness.
- Lifespan: Halogen 2,000 to 4,000 hours vs LED 25,000 to 50,000 hours.
- Annual energy cost (10 fixtures, 5 hrs/night): Halogen about $110 vs LED about $22.
- Heat output: Halogen runs hot and can damage fixtures; LED runs cool.
- Upfront cost: LED fixtures cost more initially but pay back in 2 to 4 years through energy and replacement savings.
When comparing quotes, ask contractors to specify lumen output rather than wattage. A 400-lumen LED is roughly equivalent to a 35-watt halogen. Also check the color temperature: 2700K to 3000K gives a warm, inviting glow, while 4000K is cooler and better for security lighting. Dimmable LEDs and smart controls add flexibility and can further reduce energy use by running lights at lower output when full brightness is not needed.
Electrical Capacity, Permits, and Code Requirements
Before you buy fixtures, you need to confirm that your home's electrical system can handle the load. Most exterior lighting circuits are 15 or 20 amps, which is plenty for LED systems. But if you are adding a large number of fixtures, a new circuit may be required. Older homes with 60-amp or 100-amp service panels may need an upgrade, which can add $1,500 to $4,000 to the project. A licensed electrician will perform a load calculation and advise you on the best approach.
Permits are another cost factor that homeowners often overlook. Most municipalities require a permit for new electrical circuits, panel upgrades, and any line-voltage wiring. Low-voltage landscape lighting (under 30 volts) typically does not require a permit, but rules vary by jurisdiction. Permit fees range from $50 to $500 depending on the scope and location. Skipping the permit can lead to fines, failed inspections, and insurance issues if a fire occurs. Always ask your contractor whether the permit is included in the quote, and insist on a final inspection before paying in full.
Code requirements also affect installation details. The National Electrical Code (NEC) requires ground-fault circuit interrupter (GFCI) protection for exterior outlets, proper burial depth for underground conduit (typically 18 inches for direct-burial cable, 6 inches for conduit), and weatherproof boxes for all connections. These requirements add labor and materials but are non-negotiable for safety. A reputable electrician will build them into the estimate rather than cutting corners.
Hiring Electricians vs Landscape Lighting Specialists
You have two main options for installation: a licensed electrician or a landscape lighting specialist. Electricians are best for projects that involve line-voltage wiring, panel work, or complex integrations with existing circuits. They are trained in code compliance and safety, and they can handle any electrical issue that arises. Expect to pay $75 to $150 per hour, or $50 to $100 per fixture for simple installations.
Landscape lighting specialists focus on design and low-voltage systems. They often provide free design consultations, use high-quality fixtures, and can create a cohesive lighting plan that enhances your property's architecture and plantings. Their pricing is usually project-based, ranging from $2,500 to $10,000 for a full design and install. They may subcontract electrical work to a licensed electrician if new circuits are needed.
Which should you choose? If your project is purely low-voltage landscape lighting and you want a designer's eye, a specialist is a good fit. If you need new outlets, circuit upgrades, or security lighting tied into your home's wiring, hire a licensed electrician. For combined projects, some companies offer both services under one roof. Always verify licensing, insurance, and warranties before signing a contract. To streamline the process of finding qualified professionals, you can use a platform like Contractor.Homes to connect with pre-vetted local contractors and request free quotes for your exterior lighting project.
Maximizing Energy Savings and Long-Term Value
Beyond switching to LED, there are several strategies to squeeze more savings from your exterior lighting system. First, install timers or photocells so lights turn on only when needed. A timer that runs lights from dusk to dawn for 10 hours uses twice the energy of one that runs for 5 hours. Smart controls with scheduling and motion activation can cut usage by 50 percent or more. Second, zone your lighting so you can illuminate only the areas you are using. Pathway lights for safety, facade lights for aesthetics, and security lights for protection can be controlled separately.
Third, choose fixtures with high efficacy (lumens per watt). The best LED fixtures deliver 100 to 150 lumens per watt, while cheaper models may deliver only 60 to 80. Over time, the higher-efficacy fixtures save more energy and require fewer replacements. Fourth, consider solar-powered options for remote areas where wiring is impractical. Solar path lights have improved significantly in recent years, though they may not match the brightness of wired systems.
Finally, think about maintenance. LEDs rarely fail, but connections and transformers can corrode over time. A professional installation with waterproof connectors and proper drainage will extend the life of your system. Regular cleaning of fixtures and trimming of vegetation will keep light output consistent. If you plan to sell your home, highlight the updated lighting system as a selling point: buyers appreciate low-maintenance, energy-efficient features.
What to Expect During the Installation Process
Most exterior lighting projects take one to three days, depending on the scope. Here is a typical sequence:
- Consultation and design: The contractor assesses your property, discusses goals, and proposes a lighting plan with fixture locations and types.
- Permitting: If required, the contractor pulls the permit and schedules inspections.
- Preparation: Trenches are dug for wiring, and existing fixtures are removed if necessary.
- Installation: Fixtures are mounted, wiring is run, and the transformer or control panel is installed.
- Testing and adjustment: The system is tested for proper operation, and lights are aimed for optimal effect.
- Final inspection and walkthrough: The contractor explains the system, provides warranties, and ensures you are satisfied.
Be prepared for some disruption, especially if trenching is involved. Protect landscaping and hardscapes, and discuss restoration plans with your contractor. Ask for a written schedule and payment terms that tie final payment to completion and inspection. A detailed contract should specify fixture brands, wattages, warranties, and cleanup responsibilities.
Financing and Rebates for Energy-Efficient Lighting
Many utility companies offer rebates for LED lighting upgrades, though programs vary by state and utility. Rebates typically range from $5 to $50 per fixture, and some offer additional incentives for smart controls. Check your utility's website or ask your contractor, who may be familiar with available programs. Federal tax credits may also apply for certain energy-efficient improvements, though exterior lighting is less commonly covered than HVAC or solar.
If upfront cost is a concern, consider financing options. Many contractors offer payment plans, and home improvement loans or credit cards with promotional rates can spread the cost over time. Remember that energy savings will offset part of the monthly payment: a $5,000 system that saves $100 per year in electricity plus $50 in bulb replacements effectively costs less than the sticker price. Use a simple payback calculation: divide the upfront cost by annual savings to see how many years it takes to break even. Most LED exterior lighting systems pay back in 3 to 6 years.
Exterior lighting installation is an investment that improves safety, security, and curb appeal while reducing your energy bills. By understanding cost ranges, choosing LED technology, and hiring the right professional, you can maximize both immediate savings and long-term value. Start by getting multiple quotes from licensed contractors, and ask detailed questions about fixtures, warranties, and permits. With careful planning, your outdoor lighting upgrade will pay dividends for years to come.